How To Clean A Lane Cedar Chest
Give your vintage Lane cedar chest a painted furniture makeover. Combine chalk paint with stain for a farmhouse finish.
How often do you come across a cedar chest or more specifically a Lane cedar chest and wonder how to refinish a cedar chest? Are you unsure of whether or not to paint a cedar chest? Maybe you consider refinishing the cedar chest and not painting it. If you are stuck on painted hope chest ideas then why not combine a little of both – paint and stain.
Disclosure: This Lane cedar chest makeover post contains affiliate links for your convenience. I may be compensated if you make a purchase after clicking on my links. Click here for my full disclosure policy.
Tools & Supplies to Refinish a Cedar Chest
Unfinished & Damaged Lane Cedar Chest
This is actually part two of this vintage Lane cedar chest makeover. This hope chest required quite a bit of repair work before the painted furniture makeover could even begin. You can find the furniture repair tutorial here for this Lane chest here: How to Repair & Replace the base of a Cedar Chest .

Now that the repairs are all finished we can move on to refinishing the cedar chest and make it pretty! The owner is asking for a distressed, glazed and worn farmhouse style finish.
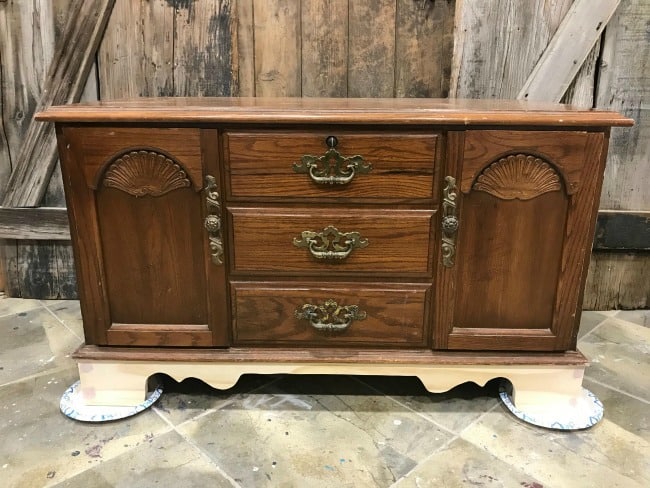
So, of course, like all painted furniture projects the first step is to thoroughly clean and prep thehope chest. This is my standard process for How to Prep Painted Furniture . The top of this vintage lane cedar chest has a bit of scratches and damage as you can see here. It's not horrible and can certainly be addressed.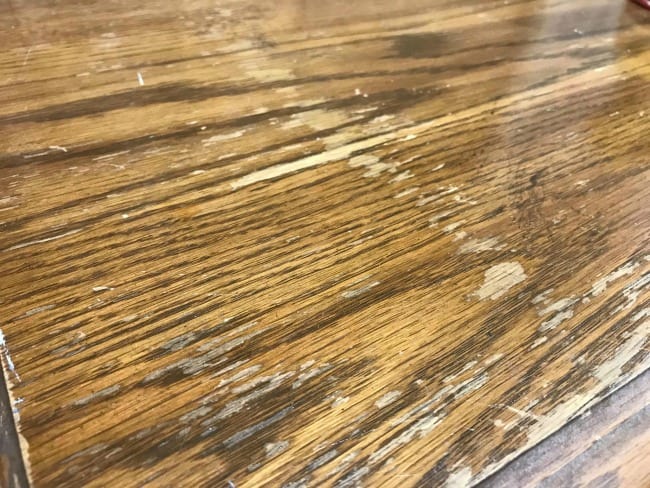
Break out your orbital sander to sand the top of the cedar chest smooth and remove most of the imperfections. This is my all-time favorite brand orbital sander, you can find them: here
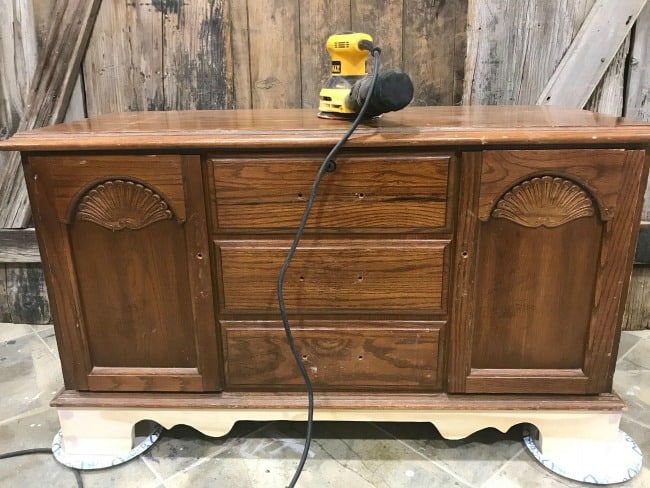
Make sure to vacuum any dust out from inside your vintage hope chest. And if you are missing that cedar scent you can refresh the cedar smell by lightly sanding the inside of the cedar chest and you can even wipe it down with cedar oil. You can get cedar oil HERE 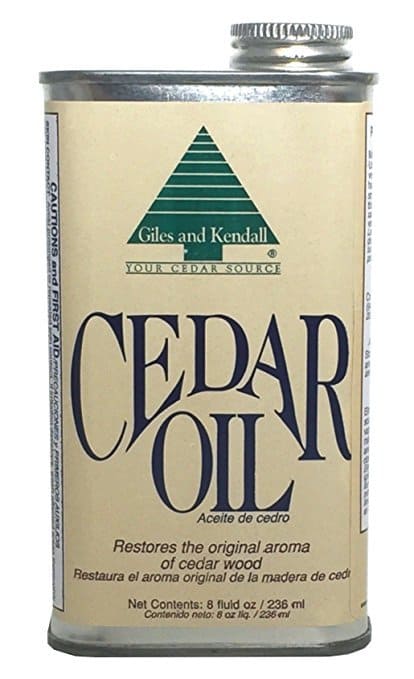
Creating a Distressed Farmhouse Stain Finish
You can create a worn and weathered farmhouse style finish on your piece in just a few steps.
-
Sand
When sanding the top of the Lane chest I intentionally sand in a slightly uneven manner.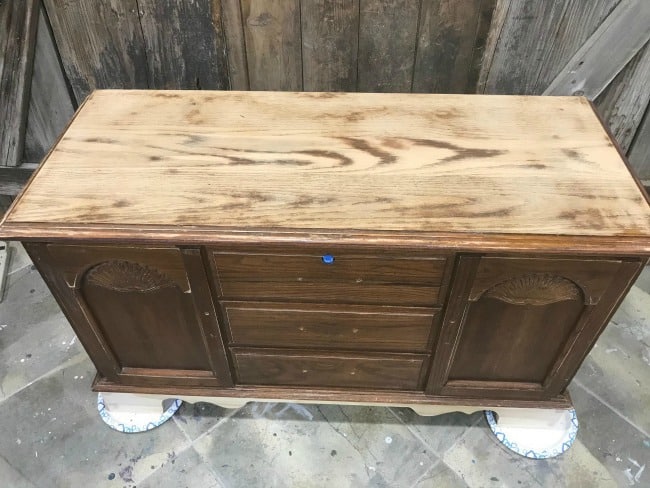
-
Stain
The first step to creating a worn distressed look on the sanded cedar chest top is to add a light stain over the sanded wood. After one coat of wood stain, the top almost looks like it did when we started. But that is about to change.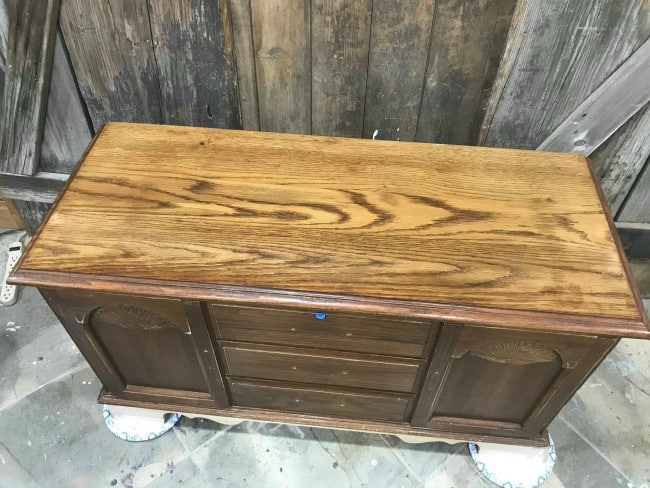
-
White Wash
Next, grab your white paint and dilute it with water. Since the bottom of this Lane hope chest will be painted in off-white I am using a diluted white paint for this step. You can find great paint options online HERE 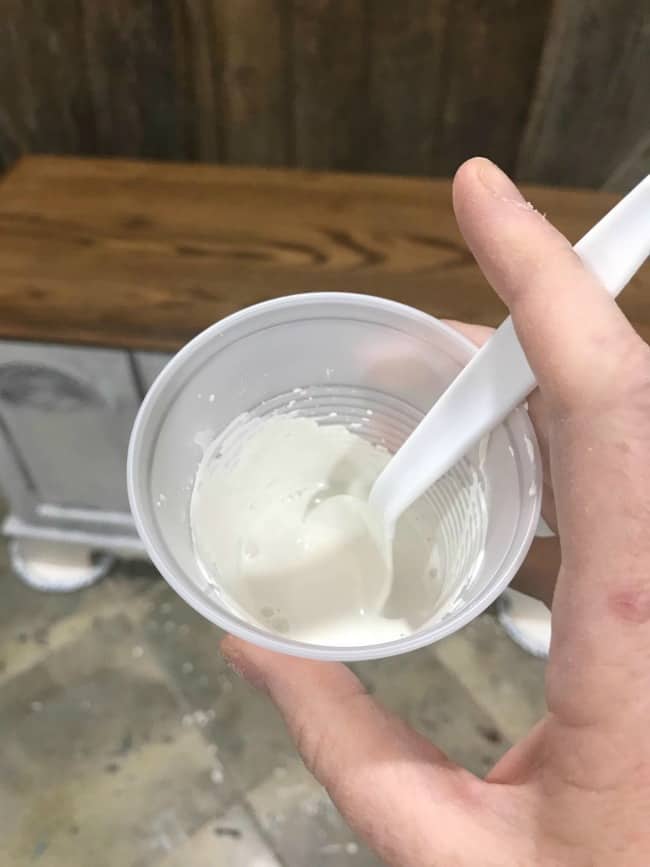
Now, we are going to apply a whitewash over the stain that we just applied to the top of the Lane cedar chest. To do this, you brush the diluted paint onto the wood and then wipe it right off. Work in sections, because if you apply the wash to the entire surface it may already be too dry by the time you come back to wipe it off. Make sure to wipe the very wet paint off using a clean, dry cloth aka old T-shirt.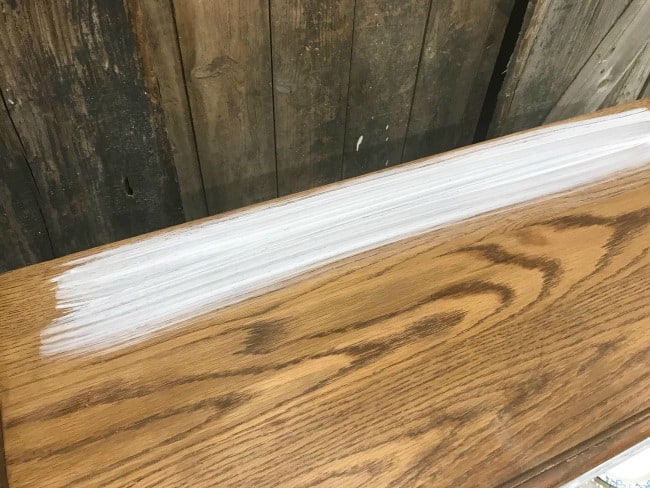
You can find a more detailed tutorial on whitewashing here: How to Whitewash Wood Furniture . When you finish applying your whitewash to the top of your vintage cedar chest you should have something that looks like this.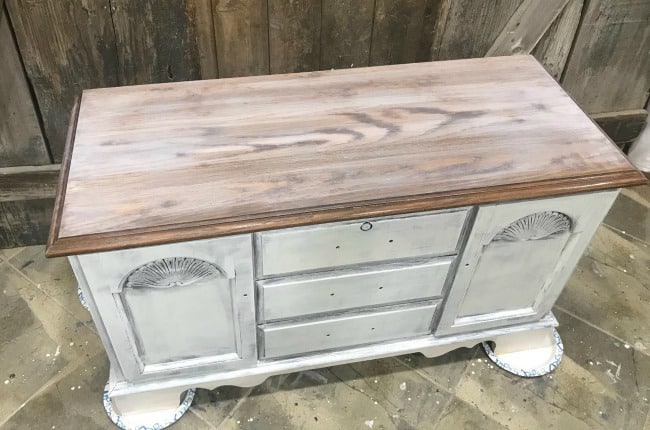
-
Stain
Next, we will apply a darker stain over the whitewash. I actually add a bit of lighter stain to the plate with the dark stain and apply with my favorite yellow sponges. You can always play around with your products and colors. That's the beauty in all of this. During this step, you want to adjust your pressure as to where to apply the stain. I am focusing more stain towards the outer edges of the top of the chest. If you don't have any of these amazing yellow sponges yet, you can find them HERE .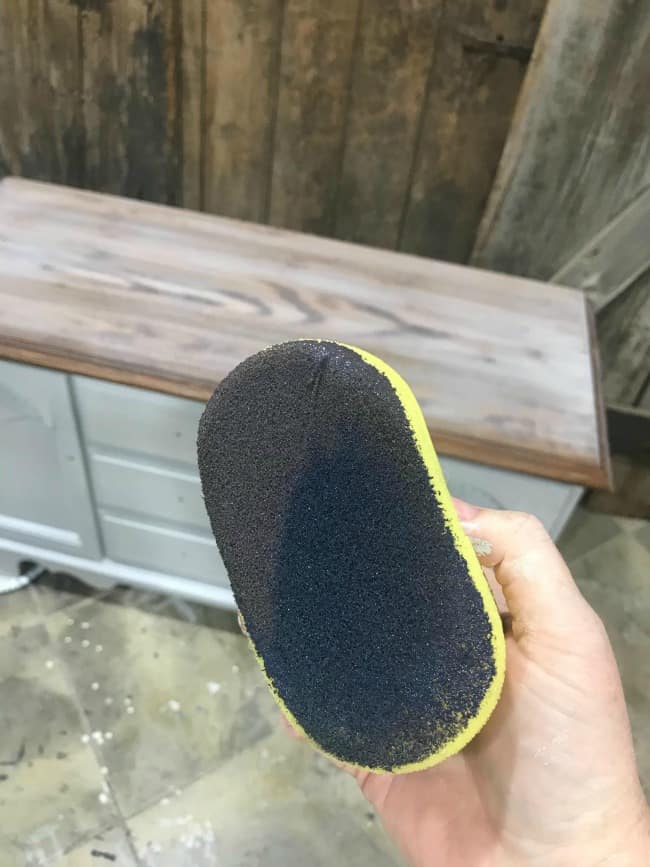
Apply the stain and then come back and sand the top of the cedar chest again, but this time you can sand by hand with a piece of sandpaper and sanding block.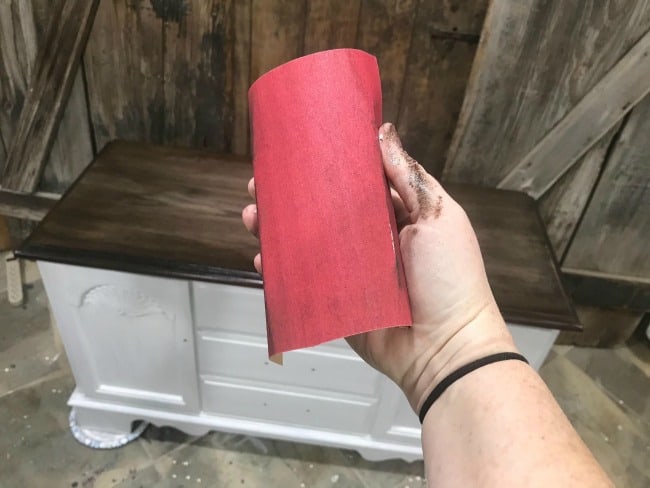
You may need to play around and apply a bit more of the whitewash and then stain again until you achieve the weathered and worn farmhouse finish that you are going for. Always make sure to come back and sand the surface and finally, wipe away any dust with a lint-free cloth.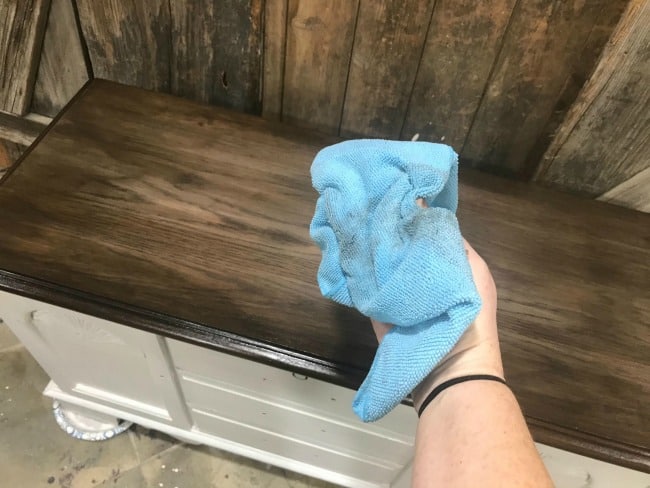
Since the stains are also protective sealers there is no need to apply an additional sealer over the stain. But you can if you want to.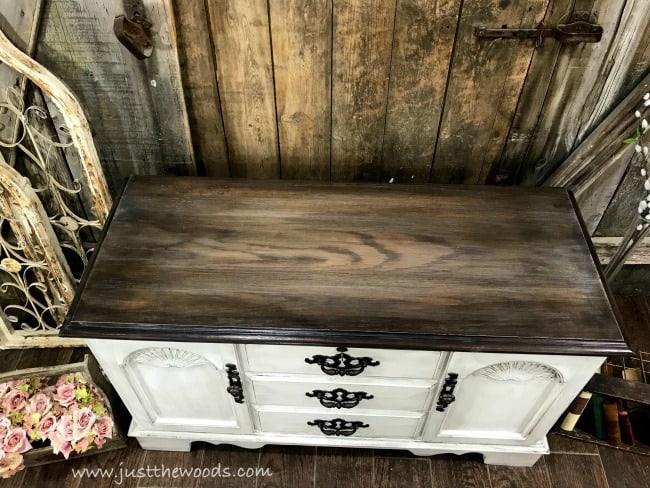
Click here to PIN this post for later .
Painting the Vintage Lane Cedar Chest
On to the body of the hope chest. We are painting the outside of the cedar chest in off-white. I always like to prime when painting furniture white, just to play it safe. You can find other white painted furniture projects where primer is used here: primer . This is my 'go-to' shellac based primer for sealing and priming vintage furniture, you can find it HERE .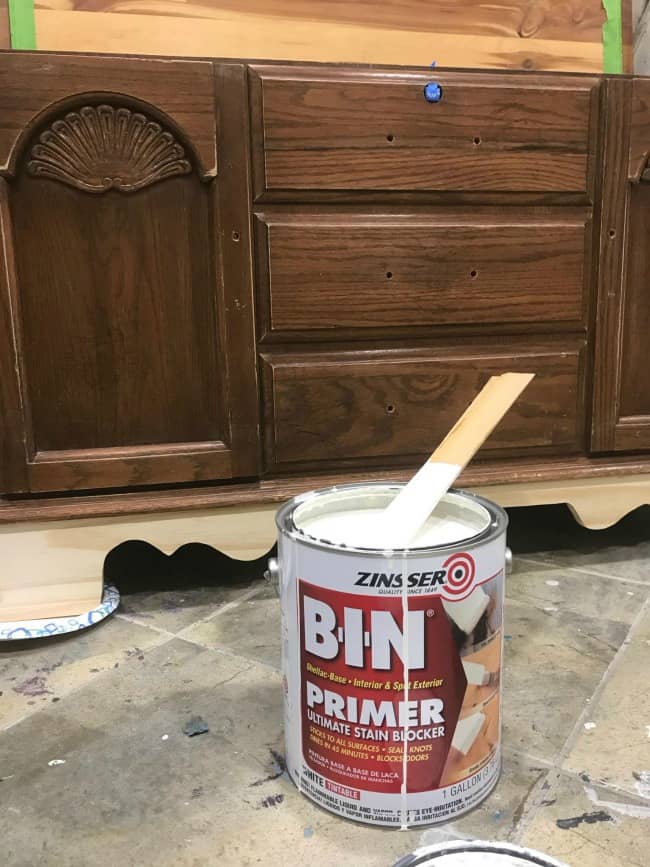
I apply my primer with a combination of a small foam roller and a chip brush. The foam roller is great for the flat surfaces while the chip brush is great for the details and corners.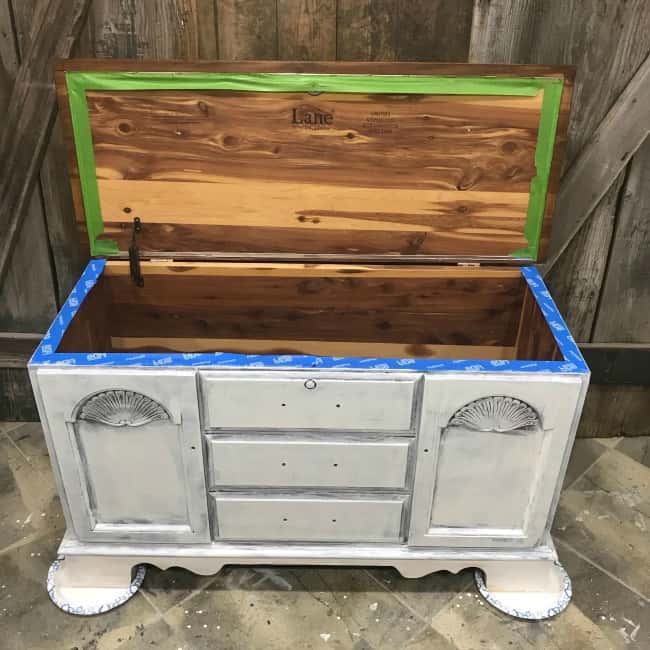
After two coats of primer its time for paint. Two coats of white paint can now be painted on to your Lane cedar chest with your favorite Cling On brush . Make sure to lightly sand in between coats. You can great white chalk type paint as well as glazes, stains and sealers online HERE .
Distressing a Painted Cedar Chest
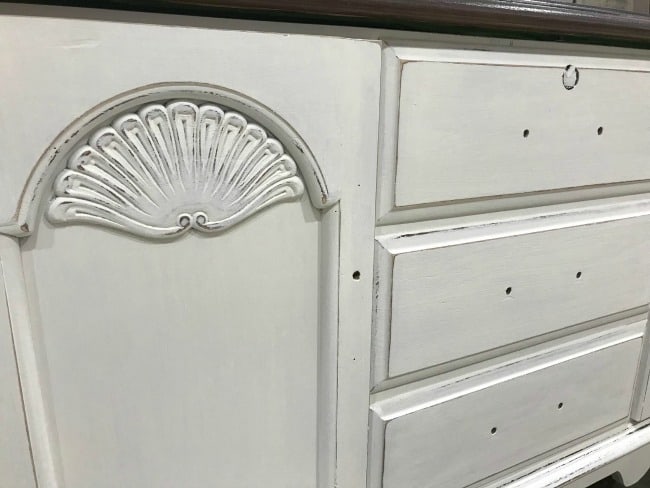
Next, go over your painted cedar chest with a fine grit sandpaper and distress the edges and details. I like to bounce back and forth between 220 and 320 grit sandpaper. If you need help distressing painted furniture then you will want to check out How to Distress Painted Furniture .
Click here to PIN this post for later .
Adding a Protective Glaze to a Painted Cedar Chest
We could leave the white distressed finish or we can go a step further and add a glaze. Let's add a glaze. Since we are adding a subtle gray glaze over the white paint on this cedar chest makeover I like to apply a clear sealer first. Go ahead and apply a coat of clear sealer using your yellow sponge. Follow up with a chip brush to make sure that none of the clear sealer sits in any of the corners or crevices. Don't let your clear sealer pool up!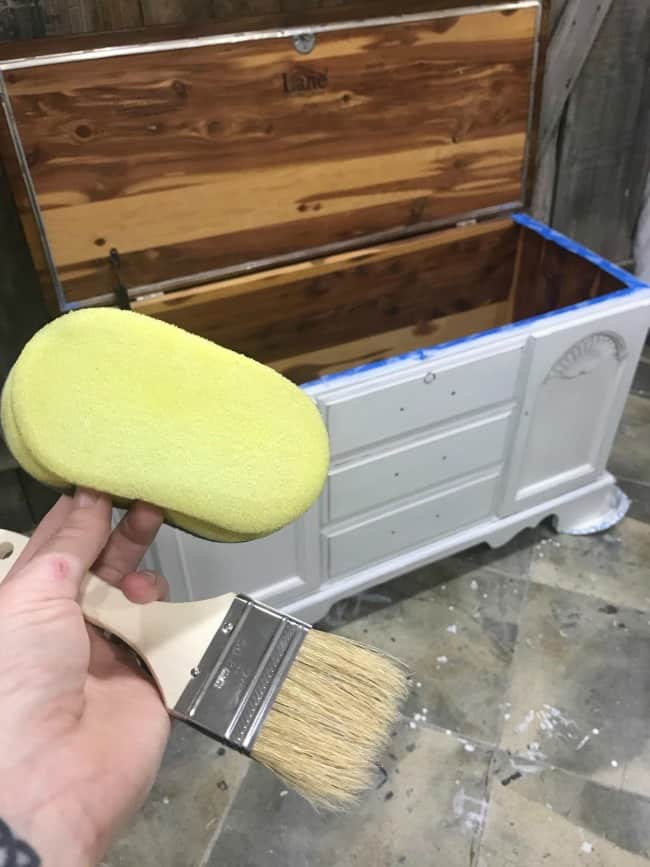
Next, grab a gray glaze and apply over the entire white painted surface. If you don't want that grunge look, by all means, don't bother with this added step. The gray glaze adds a touch of grungy farmhouse to this cedar chest refinishing project.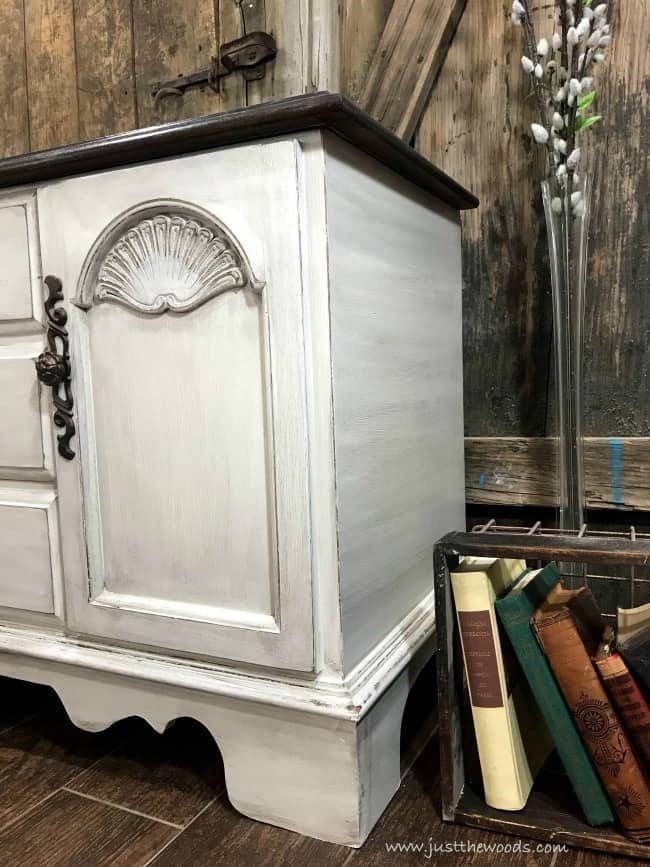

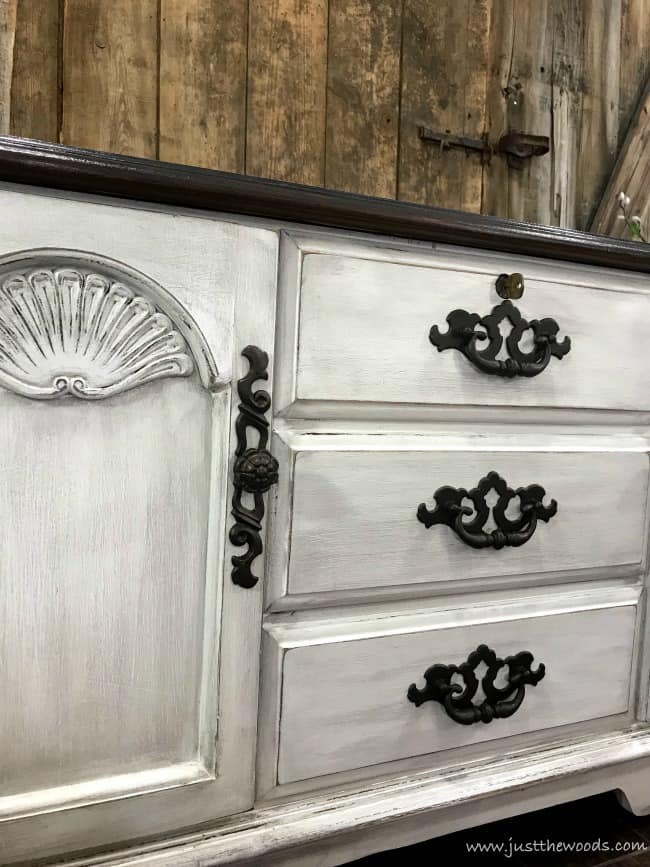
Here is a full tutorial with VIDEO showing how I seal my painted furniture projects: Sealing Painted Furniture 
Painting Vintage Hardware
The original hardware to this Lane cedar chest is a bit too brassy for the newly painted finish. We will need to give it a good cleaning so we can make it more of an oil rubbed bronze. This is How I Clean, Prep & Paint Hardware.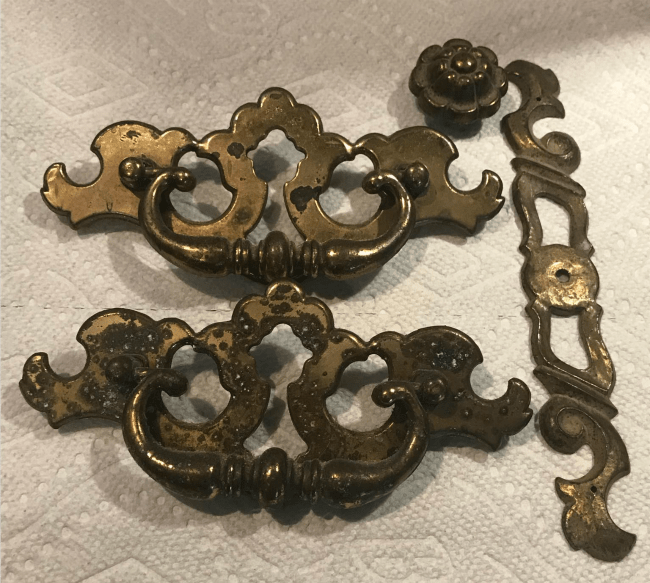
To get an oil rubbed bronze we first need to paint the hardware black.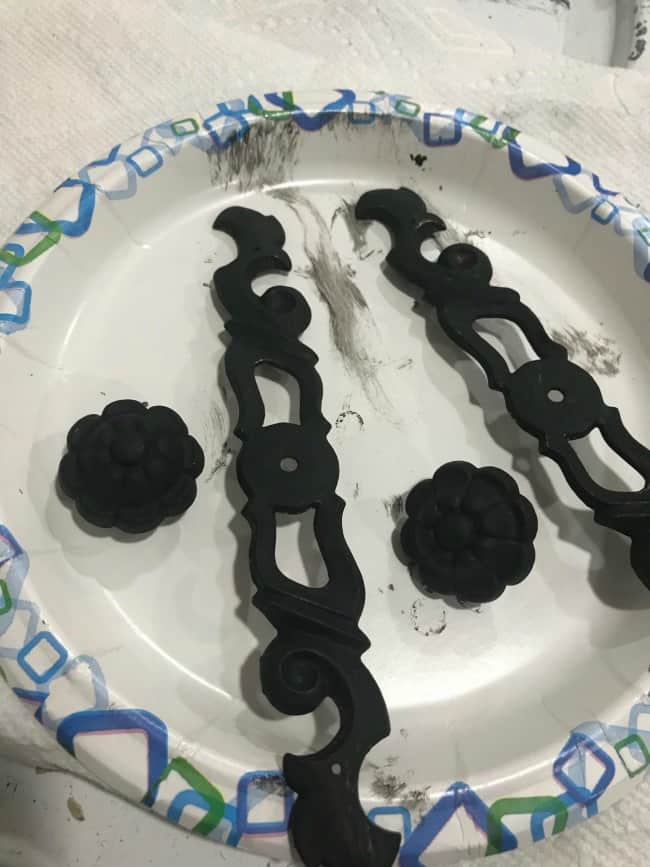
Next, paint the hardware metallic bronze.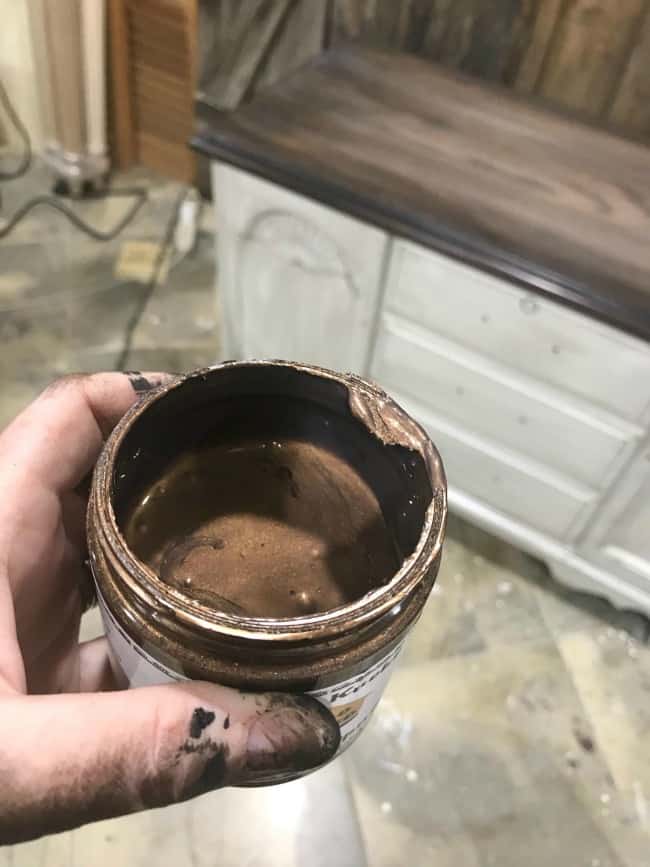
There is no need to replace old hardware when you can save it and change the color!
Farmhouse Makeover on a Lane Cedar Chest
This vintage lane chest has been transformed from dated and falling apart to farmhouse fresh and distressed.
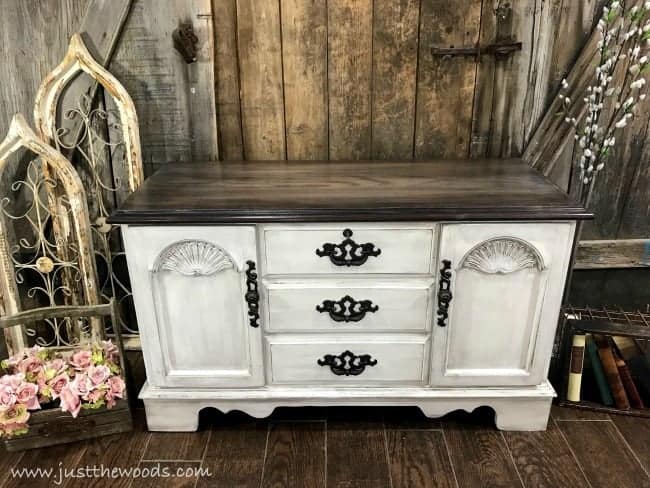
Click here to PIN this post for later .
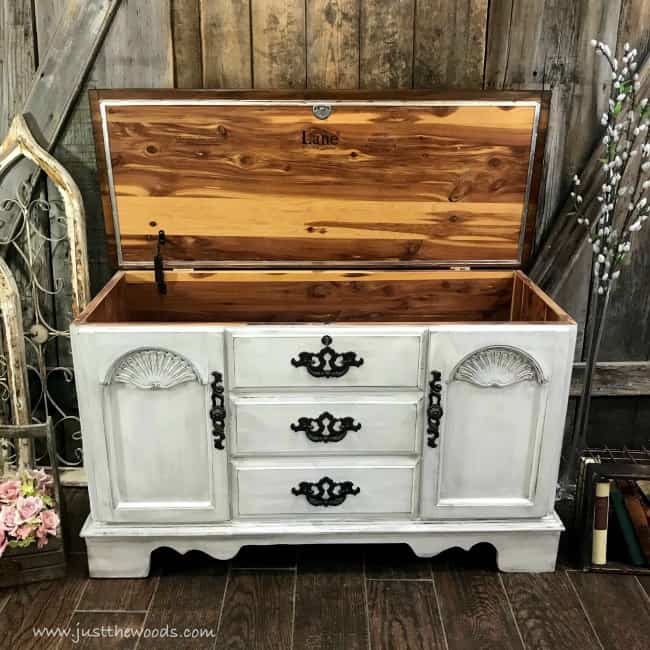
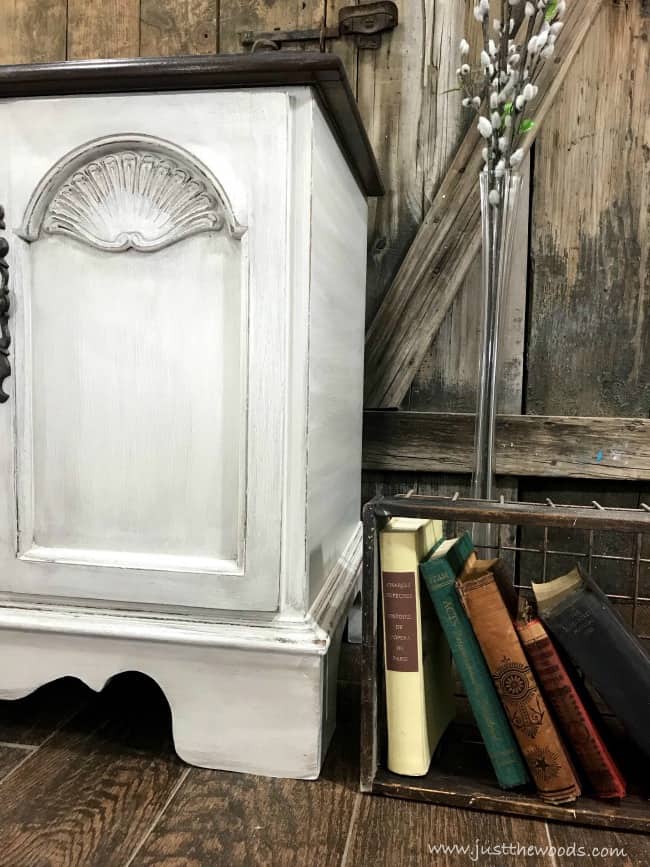
They certainly don't make them like they used to, but you can find new decorative trunks andcedar chestsfor sale here: Cedar Chests

Click here to PIN this post for later .
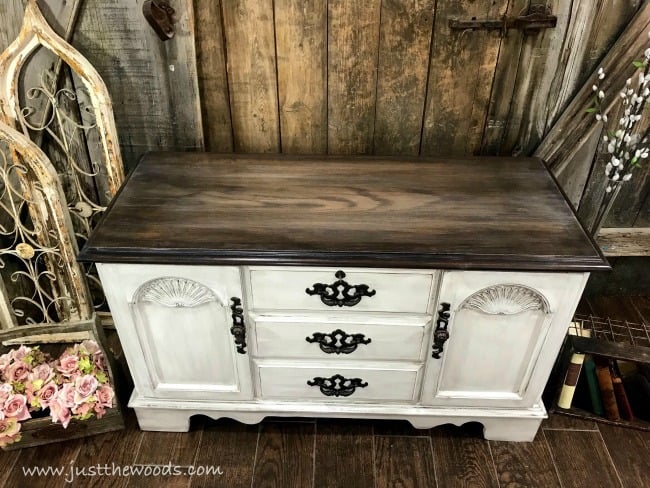
If you like this post then you may also like Painted Cedar Chest with Reverse Stencil .
*Safety Recall on Lane Cedar Chests – there has been a safety recall for Lane chests that were made and sold between 1912 -1987. If you have a Lane chest that falls in this date range make sure to replace your lock. You can get a free lock sent to you from Lane by contacting Lane. If you have a Lane cedar chest from after 1987 it should have the new safety lock already on it and no further steps are required.
If you like this post make sure to check out all of the tips & secrets that I wish someone told me when I started painting furniture here: Painting Furniture Secrets 

Don't Forget – Follow Just the Woods and Share this post to Inspire others:
FACEBOOK * INSTAGRAM * PINTEREST

Click here to PIN this post for later .

How To Clean A Lane Cedar Chest
Source: https://www.justthewoods.com/lane-cedar-chest-makeover/
Posted by: fisheldraugh.blogspot.com

0 Response to "How To Clean A Lane Cedar Chest"
Post a Comment